
FAQ
-
Yes, but we do not recommend the use with an original headlining.
The LASALLE INTERIOR TRIM headliner will not be compatible with any original mid or rear Land Rover Defender/Series headliners.
Our products are NOT fabric/vinyl covered board, we make a very different product.If you decided to buy the rear sections at a later date, we cannot guarantee a perfect colour match.
-
Yes, but we do not recommend the use with an original headlining.
The LASALLE INTERIOR TRIM headliner will not be compatible with any original front Land Rover Defender/Series headliners.
Our products are NOT fabric/vinyl covered board, we make a very different product.If you decided to buy the front section at a later date, we cannot guarantee a perfect colour match.
Defender models have a different design front section, so will not work at all.
-
Yes, at LASALLE INTERIOR TRIM we handcraft the products ourselves. This gives you the opportunity to create a bespoke and unique interior for your Land Rover.
We can create various effects in a range of colours, using :-
Utility – robust textured paint finish
Raptor – ultimate hard wearing textured paint finish
Luxury – suede/velvet effect fibre finish
-
We only advise using an open cell foam product to allow any moisture that may occur to dissipate naturally.
Headlining allowance for an open cell foam – 12mm
HEADLININGS
-
Yes, at LASALLE INTERIOR TRIM we handcraft the products ourselves. This gives you the opportunity to create a bespoke and unique interior for your Land Rover.
We can create various effects in any RAL colour, using :
Raptor – ultimate hard wearing textured paint finish
Luxury – suede/velvet effect fibre finish
For more details, please visit this page.
-
This is not an issue if you purchase our 90 Utility side trims.
Some models have this bar with differing depths, so it depends on the depth of the bar.
This is only an issue if you purchase our 90 Blank side trims, this bar can be removed, which a lot of customers do - It is only there to stop the panel vibrating - Other customers cut a notch out of the bar to allow the side trim to fit.
SIDE TRIMS/DOOR TRIMS
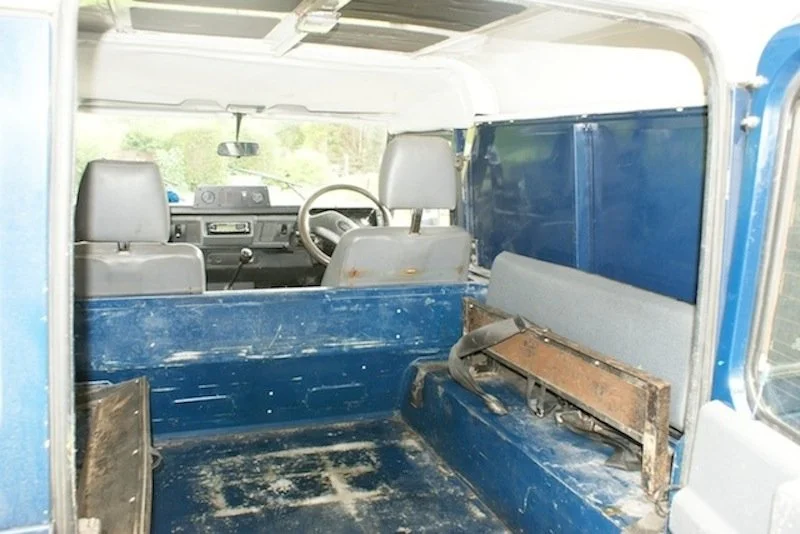
Before side trim fitting
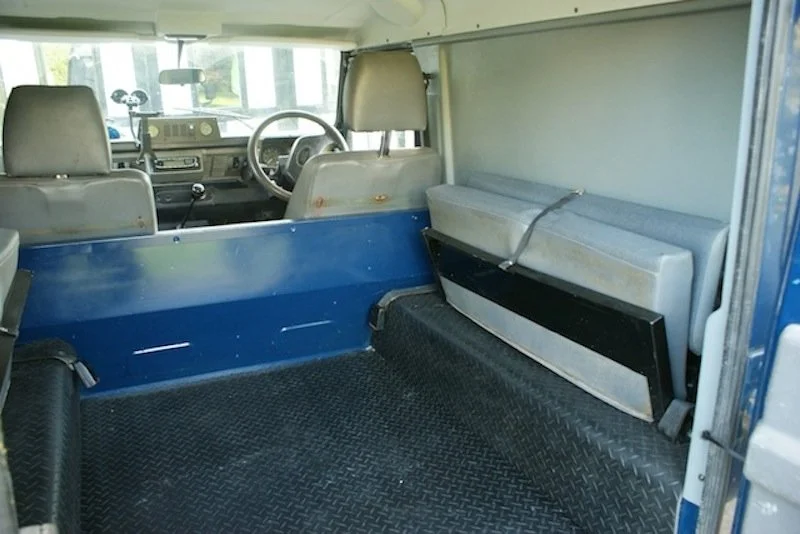
After side trim fitting
-
Series Truck Cab Radio/DIN Housing
Dimensions 8″ (203mm) width x 3″ (76mm) height x 6½” (165mm) depth, maximum size radio 7.5″ (191mm) x 2.5″ (64mm) x 6″ (152mm)
Please be aware that the sun visors if applicable, will only go up to the base of the Radio/DIN Housing, this will not affect your line of sight.
Series SWB/LWB Radio/DIN Housing
Dimensions 10″ (255mm) width x 3″ (76mm) height x 7″ 178mm) depth maximum size radio 9″ (228mm) x 2½” (64mm) x 6″ (152mm)
Please be aware that the sun visors if applicable, will only go up to the base of the Radio/DIN Housing, this will not affect your line of sight.
Defender Radio/DIN Housing
Dimensions 8″ (203mm) width x 3″ (176mm) height x 8″ (203mm) depth maximum size radio 7.5″ (191mm) x 2.5″ (64mm) x 7″ (178mm)
Please be aware that the sun visors will only go up to the base of the Radio/DIN Housing, this will not affect your line of sight.
-
No, your sun visors will only go up as far as the Radio Housing, due to the original headlining/sun visors not allowing space for a Radio Housing to be in place or fitted.
This does not impede on your vision in any way, they still sit above your eye line, it is only a slight aesthetic issue.
So please consider this before you buy the Radio/Speaker Version Headlining.Alternative options to allow your sun visors to sit flush to the roof with a Radio Housing in place :-
You can modify your existing sun visors by cutting them down in size.
You can replace your original sun visors with a shorter set.
-
Headlining Speaker Housings headlining speaker housings are 6″ (152mm) in diameter x 2″ (51mm) in depth, so would take round speakers of a maximum size of 5.25″ (134mm)
Series Door Speaker Housings door speaker housing is 6½″ (165mm) in diameter x 2″ (51mm) in depth, so would take round speakers, maximum size 5¼″ (133mm)
Defender Door Speaker Housing door speaker housing is 7″ (178mm) in diameter x 2″ (51mm) in depth, so would take round speakers, maximum size 6½″ (165mm)
-
Add On Speaker Pod Sets are designed to be fitted to headliners.
Speaker pod housings are 6″ (152mm) in diameter x 2″ (51mm) in depth, so would take round speakers of a maximum size of 5.25″ (134mm)
-
Add On Speaker Pods are pre drilled for small screws to attach to the headlining
PLEASE BE ADVISED THAT THESE PODS ARE DESIGNED FOR OUR PRODUCTS AND WILL CAUSE SOME ISSUES IF THEY ARE FITTED TO AN ORIGINAL LAND ROVER HEADLINER - issues being, that the original headliner is not strong enough to hold the self tapping screws which hold the pods to the headlining, so they would need extra support on the back side of the headliner to attach to, the pods may also need some sanding to fit the contour of the original headliner.
RADIO/SPEAKER HOUSINGS
SUNROOF/ALPINE LIGHTS/SIDE WINDOWS
-
Defender 90 Factory Fitted Alpine Windows Only
These should be approximately 10¼″ (260mm) from the outside corner of the roof to the centre of the rubber at the apex of the alpine window.Defender 110 Factory Fitted Alpine Windows Only
These should be approximately 39¾″ (101cm) from the outside corner of the roof to the centre of the rubber at the apex of the alpine window.
-
No, we cannot do this as too many Land Rovers have after factory fitted sunroofs and alpine lights, so therefore you would have to cut these out yourself.
Please note only the Standard and Speaker Only versions are suitable if you have a sunroof.
The easiest way of doing this, is to take out your sunroof/alpine windows, put your headlining temporarily in place, and mark through the holes.
We do not supply the rubber trims for your sunroof, you will have to re-use the original rubber trim.
We do supply Alpine Trims to finish off your alpine windows.
ALWAYS UNDERCUT, and sand gently to the final finish.
-
No, we cannot do this, as so many windows are after factory fitted.
The easiest way of doing this, is to mark and measure - the hole needs to be flush with the metal window interior face, so all you see is the window, and no metalwork.
ALWAYS UNDERCUT, and sand gently to the final finish.
FITTING TIPS
Attach sun visors, additional interior lights etc. before fitting the headlining.
Use drive rivets only for final and permanent fitment.
Fitting is made easier, with a second pair of hands.
Headlinings can be drilled, filed and sawn using metal work tools.
DO NOT RUB HANDS OVER REAR SURFACE AREA OF LINING
PLEASE USE A MASK TO AVOID INHALING DUST
If you have any further questions, please get in touch.